
To declutter and to organise is to reduce the stress in your life. The first step is to make a list of which areas need decluttering. Beside each area note the benefits of decluttering that area. You can refer to the list when the going gets tough and remind yourself why you are doing it.
Keep all the storage you come across. Don’t buy more until you come to the end of the process. I often find I have more than enough and what remains can be used elsewhere.
Decluttering is like peeling an onion! As you progress the next job will become clear to you and you will gradually reclaim the space.
Step 1 – Before you begin to declutter make a list
The first area on our list was the garage. To date our garage has been full to the brim with the belongings of family, lodgers and guests and with all manner of useful things I plan to reuse eg glass jars and cardboard boxes.
I am going to use my garage as an example. The principles apply to any area of your property.
Reasons why we want to declutter our garage.
- Time saving – Being able to find things when you need them
- Money saving – Knowing what you own reduces the chance that you buy something you already have.
- Rehoming or recycling electrical equipment (recycle your electricals). The government wants everyone to recycle their electricals and get the raw materials back into the economy for reuse.
- Being able to park the car in the garage
- Having space either side to get in and out of the car without a struggle
- Being able to get the dogs out of the car without difficulty
- Being able to reverse in to the garage and drive out forwards instead of having to reverse all the way up the drive.
- Guests can park on the drive.
- Having room to park the lawn mower.
- Having room for some of the contents of the shed. We need to move the shed so that the wall behind it can be repointed.
- The shed can be moved to my partner’s allotment.
The main reason is to create space. We need to store the garden tools in the garage as the shed is moving to John’s allotment.
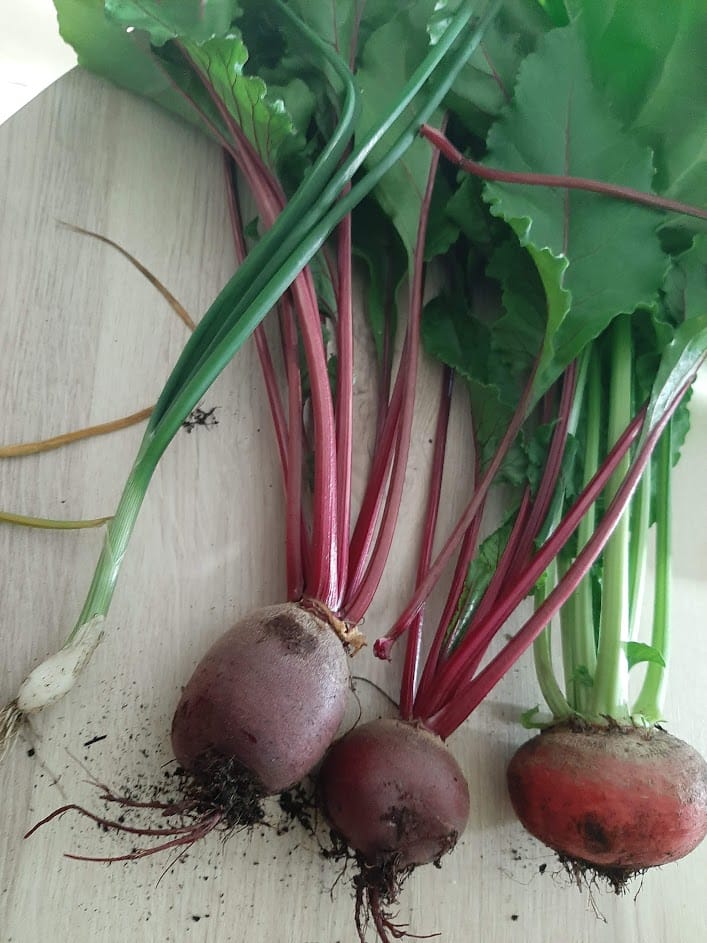
All the photos are of some of the produce he has grown so far: chillies, beetroot, peas.

Step 2 – Sort your belongings into piles
Sort in to piles according to whether your want to keep something or give it away.
Consider whether or not the item old or out of date? Could it be repaired or upcycled or parts of it used for another purpose?
Could you sell the item or give it to family and friends or donate it to charity?
If not put in recycling or the rubbish pile.
- Keep Pile – (including repair and upcycle and/or use for a different purpose.
- Sell Pile
- Give Away (to family and friends, to schools, to charity shops etc)
- Recycle
- Rubbish.
Keep pile
Sort into types.
In our garage we had
- tools
- paint brushes, paint, etc
- plant pots, small gardening tools, large gardening tools
- dog leads, collars etc (for dog fostering). We’ve fostered 14 dogs of different shapes and sizes.
- screws etc.
- Lamp bulbs etc
Recycle pile
Have different containers available. This will make it easier to unload at the recylcing centre.
- glass
- paper
- metals
- cardboard boxes
- electrical/electronic
- Bulky waste (Try and minimise this. Use one of Terracycle’s free drop off points for hard to recycle items.)
Donate pile
Divide into for family and friends and for charity shops.
Some charity shops can PAT test electrical items and then resell them but the items need to be in good condition. I once considered donating hoovers to a charity shop but realised they were not in good enough condition.
Sell Pile
Some items may be good enough to sell. You could do this through a community webpage or alternatively online eg ebay.
Step 3 – Match up the storage based on the size of the piles
Types of storage available in my garage.
- Fixed shelving at the back of the garage
- Freestanding shelving unit
- Plastic storage boxes.
- Plastic trays
- Shoe boxes
- Wall hanging – large garden tools.
In my garage the largest group of items was for painting and decorating. I have done a great deal of decorating and the largest pile staying in the garage was for painting and decorating. We allocated a freestanding shelving unit to paints, paint brushes etc.
I stored electrical items and brackets for shelving in plastic boxes with lids.
Batteries, light bulbs etc I stored in shoe boxes on shelves clearly labelled.
Hand held gardening tools are stored in open trays on the shelves at the back of the garage. Bigger gardening tools hang on the walls.
I’ve allocated a shelf at the back of the garage to boxes for recycling hard to recycle items through Terracycle’s free recycling service. eg Make up containers and toothpaste tubes and pens.
I keep glass jars in the garage to use for storage in the kitchen. In the past I have donated these to charities for use in arts and crafts, to a lady who makes jams and I’ve now started using them for spices in my own kitchen.
If you do need to more storage you could buy it now or move on and declutter other areas of your home. You may free up storage there.
Step 4 – Make a list of jobs you need to do
Make a list of the remaining jobs – jobs that come out of the initial decluttering stage and do these jobs gradually. All these jobs take time and there is no point stressing out about it. Don’t wait till you move house and have to do them all at once!
Here are ours
- Lamps to go to auction
- Discontinued fabric books to be donated to the local school for arts and crafts.
- Kitchen ware to go to charity shops or return to the kitchen where it might be used.
- Garden insecticides (which we have decided we don’t want to use) need to be safely disposed of by the recycling centre.
- Give away many of the screws.
What Next? Decide which area you are going to declutter next
I decided to declutter the kitchen next. I’ve moved all the glass jars I was saving back to the kitchen. I’m using small chutney sized jars to store herbs and the Douwe Egberts coffee jars to store other more bulky dried foods. No need to buy plastic storage containers. No need to worry about any chemicals that may be leaching out into the foods we store in them. (See my article about chemicals in the home).

My partner John moved all the plastic plant pots to his new small green house near the potting table making the pots easily accessible.
As you bring items of the same type together it be easier to find what you need.
Let me know how you get on! Do you have any useful tips you’d like to share.